Inflatable Obstacle Course Bounce House For Children'S Entertainment
Product Details:
| Place of Origin: | Guangzhou, China |
| Brand Name: | Kule |
| Certification: | CE, EN14960, SGS |
| Model Number: | KL-88859 |
Payment & Shipping Terms:
| Minimum Order Quantity: | 1 Piece |
|---|---|
| Price: | negotiable |
| Delivery Time: | 7-10 days |
| Payment Terms: | T/T |
| Supply Ability: | 1 piece per 7 days |
|
Detail Information |
|||
| Size: | 5.5*6*4m Or Customizable | Color: | Customized Color, Blue, Red, Yellow, White |
|---|---|---|---|
| Name: | Inflatable Bouncer, Inflatable Castle,Combo Bounce Bouncer Inflatable Castle For Salecy Inflatable Castle | Logo Printing: | Available,Custom Made Or Sold By Seller,Customized |
| Usage: | Outdoor Playground,park,school,indoor,garden | Shape: | Trampoline, Castle, Battle |
| Highlight: | Inflatable Obstacle Course Bounce House,Children Obstacle Course Bounce House |
||
Product Description
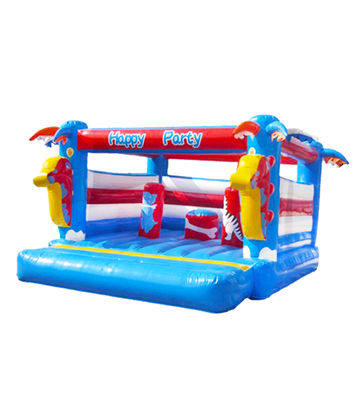
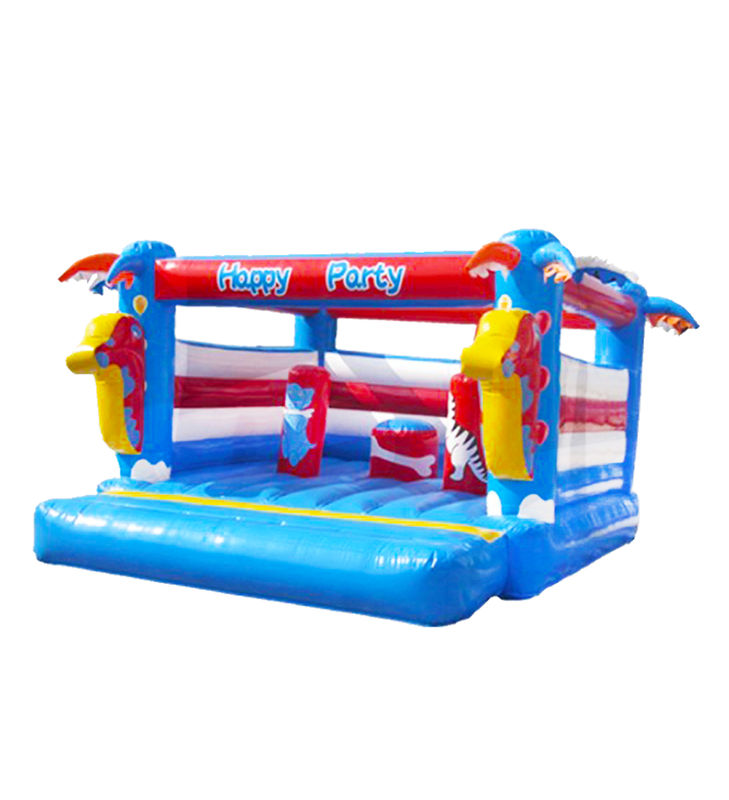
This brightly colored inflatable castle creates a joyful atmosphere for children's entertainment. Featuring a combination of blue, red, white, and yellow colors with cartoon figures and decorative elements, it provides hours of fun in various settings.
| Size | 5.5×6×4m or customizable |
|---|---|
| Color Options | Customized colors including blue, red, yellow, white |
| Design Options | Trampoline, castle, or battle shapes available |
| Logo Printing | Custom made or sold by seller |
| Usage | Outdoor playgrounds, parks, schools, indoor spaces, gardens |
- Reinforcement: All weak spots including welding seams, inside baffles, and corners are strengthened for long-term durability.
- Durable Anchor Ring: Stainless-steel construction resists corrosion for reliable anchoring.
- Welded Components: All parts including handles and anchor rings are firmly welded for enhanced durability.
- Stable Connection System: Original eyelet and anchor ring system ensures all parts remain firmly connected during use.
Step 1: Identify the damage by thoroughly inspecting the inflatable.
Step 2: Clean and dry the damaged area completely.
Step 3: Apply a patch slightly larger than the damaged area.
Step 4: If needed, apply adhesive to both patch and surface.
Step 5: Allow adhesive to dry completely (minimum 1 hour).
Step 6: Test the repair by inflating and checking for leaks.
Free accessories include Storage Bag, Repair Kit, Warning Label, and Custom Logo options.


